Social icons

Followers

Showing posts with label room decor diy. Show all posts

DIY: Room Decor part One


Hello Lovelies! This is the first part of a mini series inspired by a friend of mine. She asked me for ways to spruce up her room and to really turn it into somewhere she feels at home and motivated so this is one of the projects I came up with! They're a really great way to organise your room whilst adding a personal touch to your room!

What you're going to need:

Mason Jars (a variety of sizes)
Chalk Paint
Gold Paint
Glue gun
Labels
Stick back plastic,
Washi tape / Fabric Tape
Lace
Scissors
PVA Glue
Food Dye
Chalk


 So for the first jar I took one of the small mason jars and took the lid off it and used the fabric tape to cover the gold.


Then I just used my glue gun and went all around the edge of the inside of the lid before I grabbed the mason jar and sat it in the hot glue to glue them together. I do this just to give the jar a bit more decoration.


I then took the lace and glued it around the bottom of the jar, making sure that the seems line up, just to keep everything looking as clean as possible.


Now take another strip of lace and glue it around the top of the jar, just under band. That's one jar done! Isn't it cute?


Now, for the next jar I took a label and the sticky back plastic and traced around it with a pencil.


Then I folded the piece in half and made a small snip with my scissors and proceeded to cut out the inside of the shape. 


You should end up with something like this:


I then peeled off the back of the sticky back plastic and carefully stuck the plastic to the jar. When I had it positioned how I wanted I took the chalk paint and began to fill in the cut out.


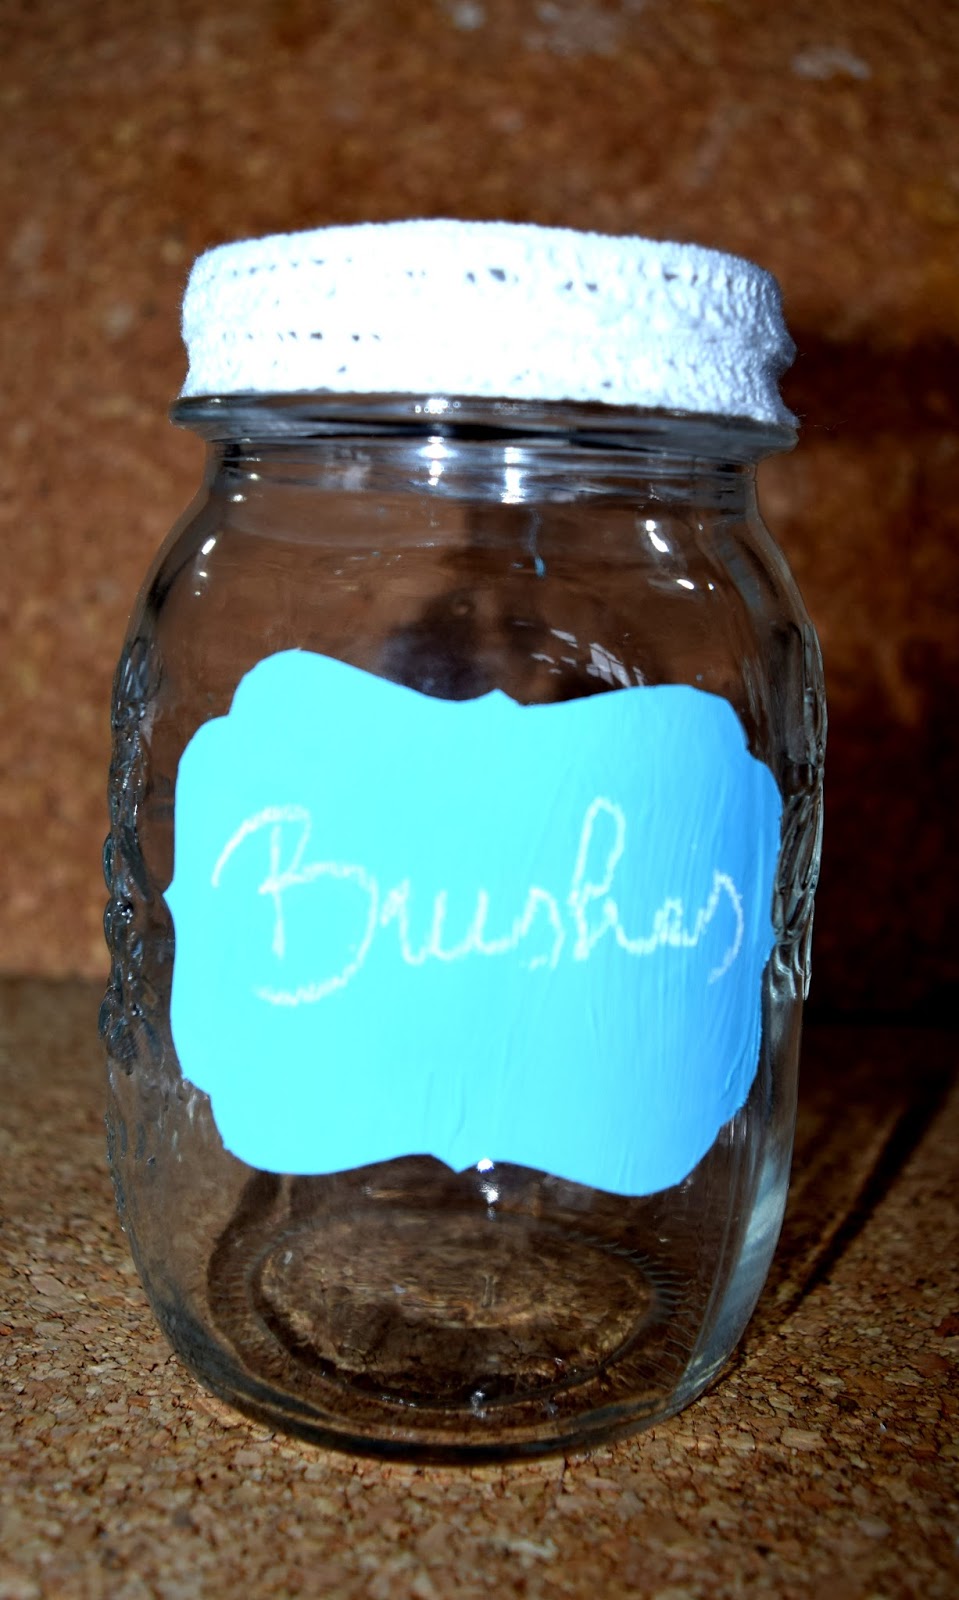
It'll take a couple of coats before the chalk paint is completely opaque. Let it all dry completely, then take some lace and glue it around the very top of the jar. When the paint is dry go ahead and grab your chalk and write whatever you want on the jar. I just wrote "brushes" because I'll be using this jar to store some of my makeup brushes. (Very imaginative of me, I know haha!)


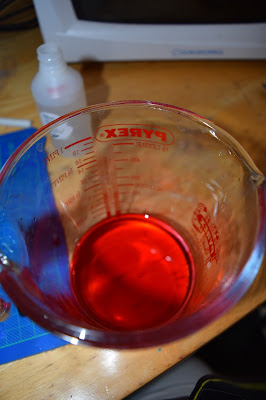
For the next jar I took some PVA glue and food colouring. Obviously I went for blue!


Okay, so fill the jar to about a fifth of the way up with PVA glue and then add a couple drops of food colouring. Adjust how much colour you put in depending on how strong you want it to be.
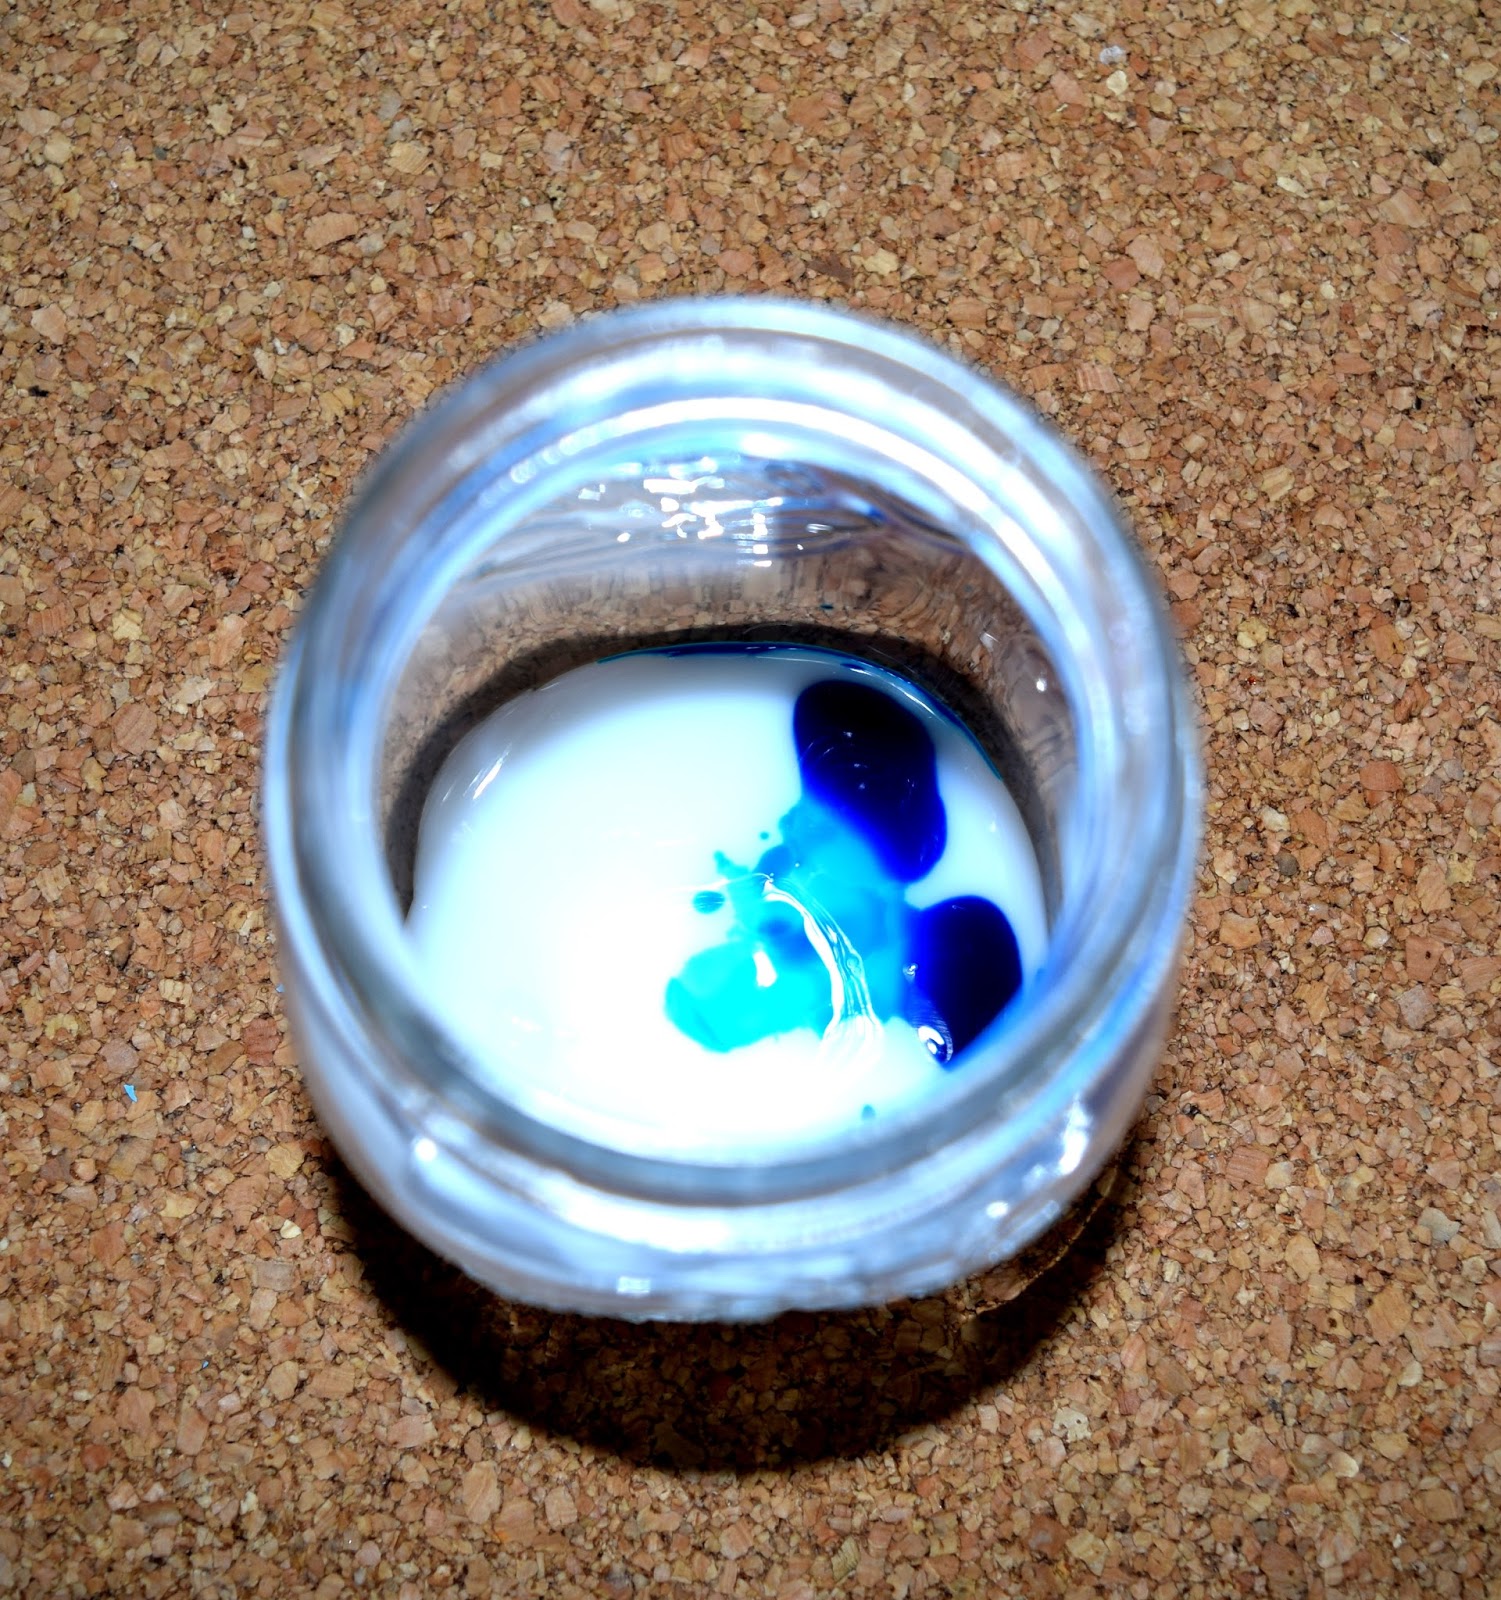

Mix it all together and then begin to roll the jar around until you've got the entire inside of the jar covered in the colourful glue. Now just leave it upside down on some kitchen towel and let the excess glue fall to the bottom and onto the towel. Once this is done and all the extra glue is at the bottom, throw out the kitchen towel and let your jar dry for a couple of hours.


I ended up with this really pretty blue jar:


But I felt that it was still a little bit bland so took some gold paint and painted around the top of the jar. Again, it'll take a couple of coats but it'll end up looking amazing! Plus, it matches perfectly with the Jewellery Organiser I did a tutorial on a few weeks ago (here's a link to that: DIY Jewellery Organiser)


For the second to last jar I just took some of the fabric tape I had left and wrapped it all the way around the top of the jar then added a cute ribbon I made out of the lace.


The I took the lid and painted it with a couple of coats of the chalk paint.


Once it was completely dried I used the glue gun and  once again glued all the way around the inside of the lid.


It ended up looking really cute in my opinion!


So the last jar is really easy, I just grabbed a label, painted one side with chalk paint, waited for it to dry, and then painted the other side. Then I took some of the lace and used it to tie the label to the jar.


This is the finished product: 


I hope you liked this blog post! Let me know what you think!


DIY Cupcake Candle


Hello Lovelies! So here's a new and fun tutorial for you: a very simple, do it yourself scented candle in the shape of a cupcake! Don't they look so cute? Here's what you're going to need:

A couple of microwavable containers
Wax, I used Paraffin Container Wax
A candle scent of your choice, I went with Black Cherry
Candle dye
Silicone cupcake moulds
Candle wicks
A whisk
A ziplock bag
Some scissors
Sprikles (optional)
And some wooden sticks


The first step is to cut the wax you're using into small chunks and place into one of your microwave safe containers and place it in the microwave. Turn the microwave on and set the timer about five to six minutes. Be sure to check on the wax regularly and to stir occasionally to ensure the wax is melting evenly. If your wax isn't finished melting then keep going, but check up on it ever 10-20 seconds until it's fully melted.


Whilst your wax is melting go ahead and grab your moulds. Place the wicks in the centre of them and then use the wooden sticks to hold the wicks in place. This will stop them falling over when you pour the wax into the moulds later.


When your wax is completely melted remove the container from the microwave. Do so carefully, with a glove or something to protect your hand as the container may be hot. Then go ahead and pour in a little of your chosen scent. If you're not sure how much to put in a good rule of thumb to follow is an ounce of scented oil for every pound of wax. Stir in the scent for a good couple of minutes to make sure it's evenly distributed.


Then pour about half the wax into your other microwavable container and set aside for later.


Take the remainder of your melted wax and and add the candle dye to it. Stir it in until it is completely dissolved. Now, I know that in a previous post I said that you can use crayons to colour your wax, but I'd like to add a note: crayons can clog the wick, which will mean the flame dies and the candle stops burning. If you want to make candles of a higher quality then I recommend investing in some proper candle dyes. 


Once the colour is fully dissolved the next step is to pour the wax into the moulds. Do so carefully and try not to spill anything. If you get the hot wax on yourself it will hurt. 


Be sure to leave a gap between the surface of the wax and the top of the silicone moulds as displayed in the picture below. Set these aside and let them cool. You can put them in the fridge if you want, but I find that this promotes dipping in the wax as it hardens so I prefer to just leave them out. Let them cool for a little while before moving on to the next step.


Remember the wax you set aside earlier? It's time to go grab it. By now it's probably cooled down and hardened so go ahead and pop it back in the microwave for a few seconds. Don't leave it in there for too long though, you only want it to heat up a little. Then grab your whisk and, you guessed it, start whisking the wax. You need to be a bit patient here, and be prepared to put in some elbow grease as you've got to get the wax to the point where you can make peaks in it. This will take a good few minutes.


 Once the wax is at the right consistency take your ziplock bag, cut a small hole in one of the corners and start filling the bag with the wax. I found it easiest to use a spoon to get all the wax into the bag.


The next step is where it gets fun. First, remove the wooden sticks from the wicks and then start piping the wax out onto the cupcake candle bases. Use the mould as a guide to see where the icing should go.


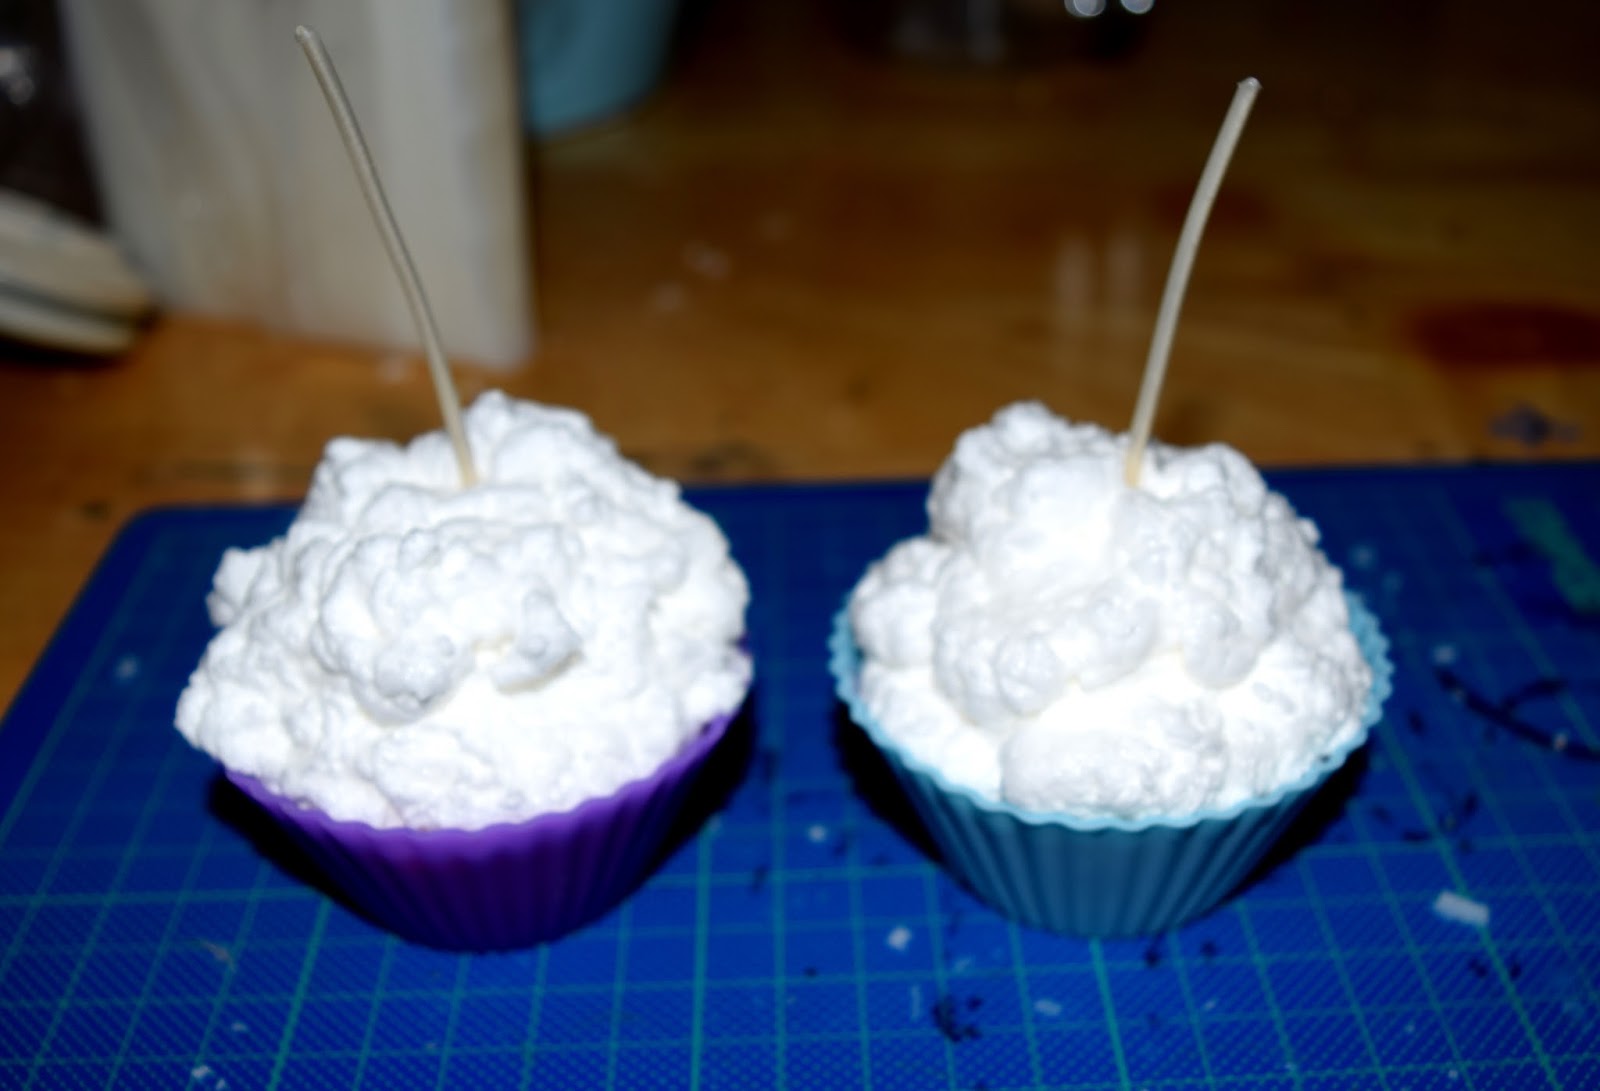
You can put as much of the whisked wax on as you want, it's entirely up to you! Mine ended up looking like this:


My next step was to take the candles and, whilst the wax was still soft, gently pour some sprinkles onto them, just for an extra touch of authenticity. You don't have to do this if you don't want to, I just thought it made them look that much cuter.


Once you're finished all you have to do is wait for them to cool down completely and then carefully remove the silicone moulds and trim the wicks. And viola! You've got yourself a pair of cupcake candles! Aren't they cute?
 I do recommend that when you light these you keep them on a protective surface. I used an old lid off a tube of Pringles and that worked a treat to protect my table from any stray melted wax.


I hope you've enjoyed this DIY! Let me know what you think!

DIY Light Up Letters


Hello Lovelies! Sorry for the long gap between posts, it's been a bit hectic! But I'm back now, and I've got a fun tutorial for you: Light Up Letters!

What you're going to need are:

Fairy Lights
Cardboard Letters
White Paint
A different coloured paint of your choice
Glitter
PVA Glue
Scissors (Please, please be careful with these as they are sharp and you could hurt yourself)
A bin bag (to protect from the mess)


First thing's first, make sure your work space is properly covered, because this can get a tad bit messy. I just used a bin bag and spread it across my carpet.

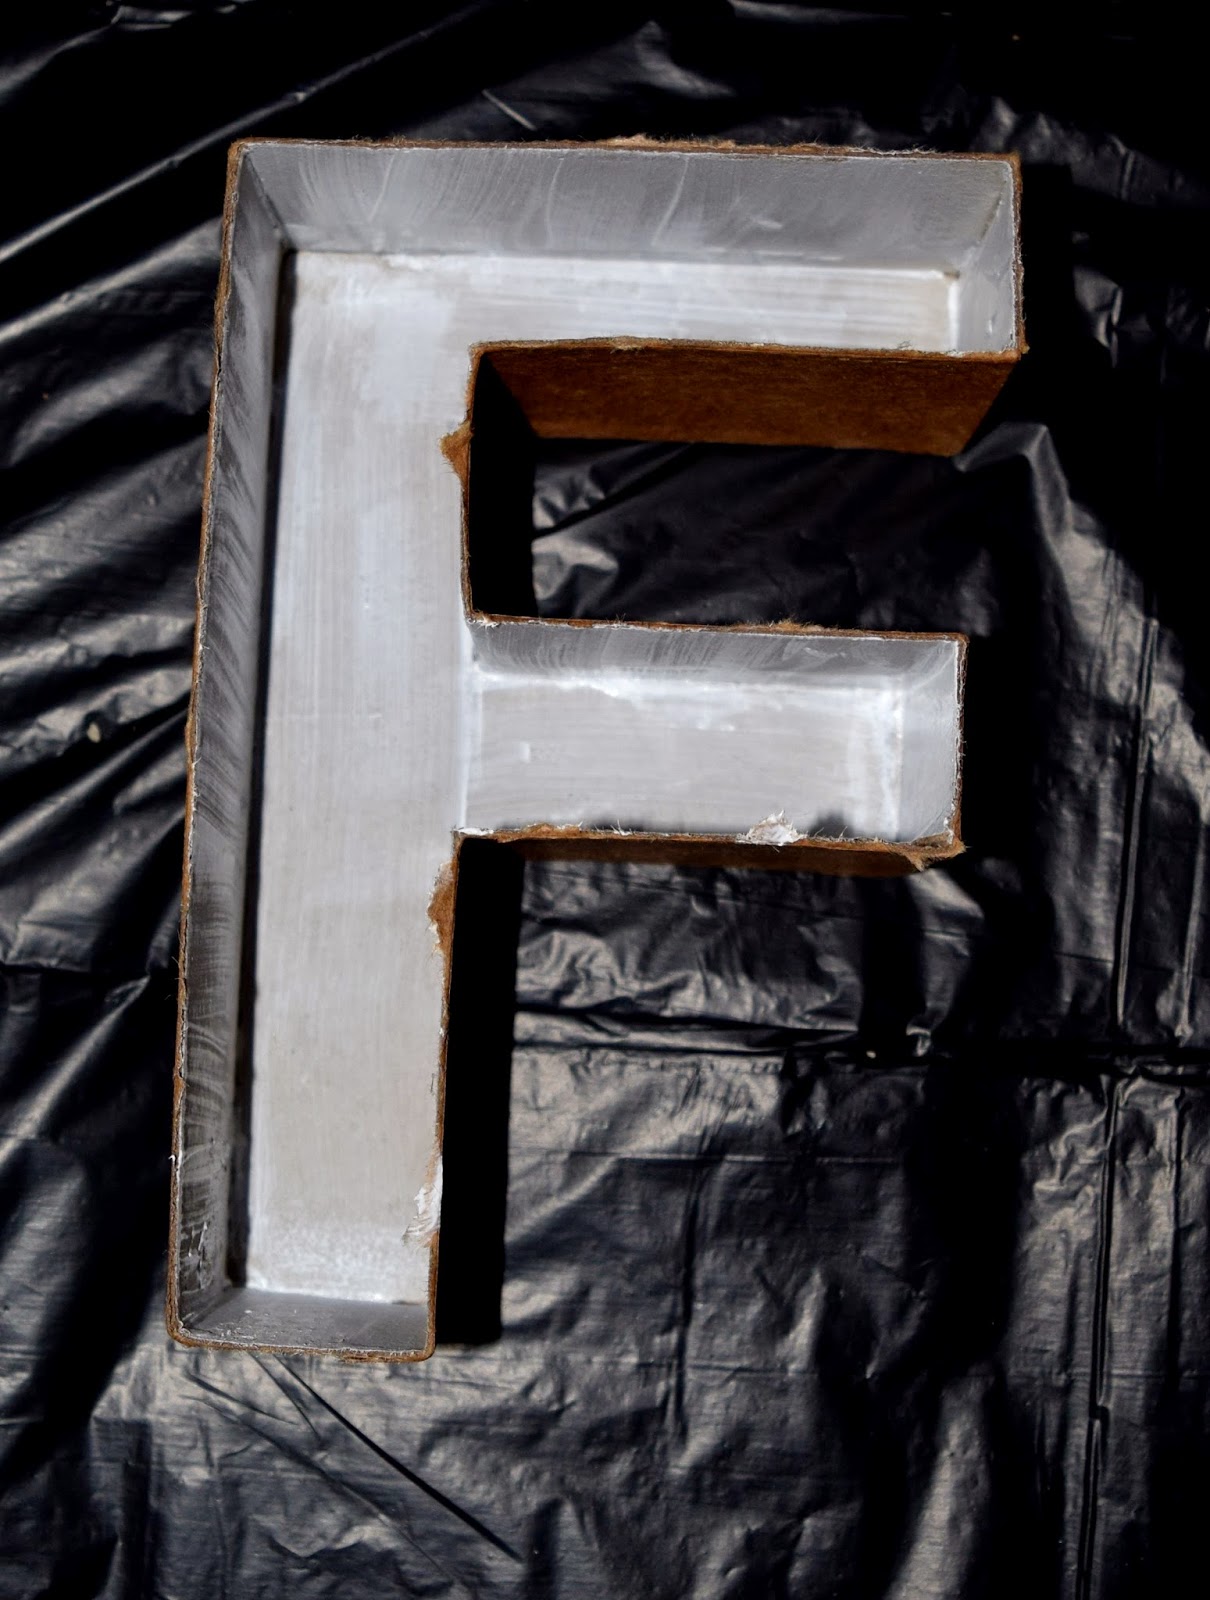
Now take your letters and peel off the front side of them, leaving the sides and the back intact. I used my scissors to cut a hole in front of the panel and then pulled it away from the rest of the letter. This is what you should end up with:


Next take your white paint and start painting the inside of the letters. It'll take a couple of layers before it's the right opacity. 


Carry on painting the insides of all the letters and then just wait for them to dry.


Once dry it's safe to start painting the outsides of the letters. Use whichever colour you want, I went with this nice blue-purple colour because it matches the rest of my room. Again, it will take a couple of coats before they're ready. And be sure to let each coat dry before painting the next.


Now comes the PVA glue and glitter. What I did probably isn't the best way to do it, but it worked for me. I poured a small puddle of PVA glue onto the bin bag and then poured a small puddle of glitter next to it. I then took my letter, dipped the open side into the glue so that it coats the edges. 


Then I dipped it into the glitter and just left it to dry in it. I did this because the first time I made the mistake of taking the letter out of the glitter too soon and leaving the letter to dry on it's back. The glue ran and the glitter went with it, which created a bit of a mess and ruined the look of the letter. This is a more time consuming way to do it, but it seemed to work.


When you're done it should look like this:


When the glue is perfectly dry and the glitter is properly set, it's time to start putting the fairy lights into the letters. I used some white tack to keep them in place. It's a bit fiddly, so just be careful.


Persevere and fill each letter with lights and the final step is to find a place to display your lovely letters and light them up! And viola! 

Even in the daytime they still look super cute. What do you think?


Powered by Blogger.

Connect