Personalised School Supplies and Organisation / Motivation Tips
Hello Lovelies! I'm back with another blog post. This one's pretty simple and won't take too much time, but it's a great way to spice up your school supplies and make them your own!
What you're going to need:
Planner / Journal / or Notebook
Patterned Paper of your choice
Pencils
Washi Tape
Sticky Back Plastic
Scissors
PVA Glue
Paint Brush
Sticky Labels
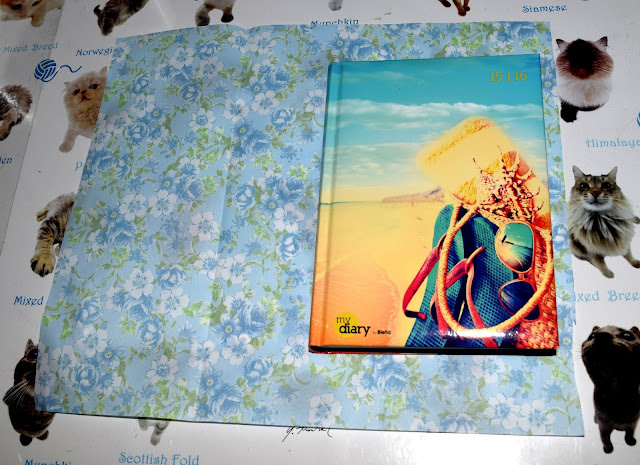
Okay, so first things first, take your planner and the patterned paper you chose and measure out the paper so that it fits the journal with about a centimetre extra's width and height.
Next thing to do is take the PVA glue and your paintbrush and starting painting the glue onto the journal and gently and slowly start pressing the paper to the journal. Do it section by section to minimize the risk of making mistakes and air bubbles.
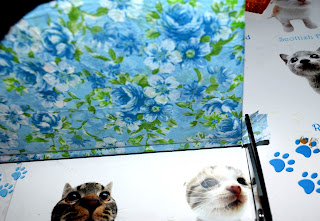
Once everything's glued down, just cut the sharp corners off as demonstrated in the picture below:
Open up the journal and put glue along the edges of the inside of the cover.
And then fold over the extra paper like so:
For the spine what I did was simply trim down the excess paper and then put a bit of glue down the inside of the spine.
Then just fold it over and hold it down until it's dried a little bit.
Leave it all to dry for around thirty minutes to an hour just to make sure it's completely dry before moving onto the next step.
When everything is dry take the sticky back plastic and measure it out again, like we did with the patterned paper but with about 3cm extra on all sides this time.
Now peel back about half of the paper backing away from the edge and carefully place your book, spine down, in the centre of the sticky back plastic, pressing firmly to make sure there are no bubbles. Then take the sticky back plastic and press it along the side of the book, you can use a ruler or anything with a straight edge to get rid of any bubbles.
It's now time to fold over the edges of the plastic. I folded the top and bottom down first then trimmed the remaining plastic before folding it over the edge of the book and pressing it down. Now do the same with the other side of the book and you're ready for the next step!
You can skip this step if you like, but I thought it was a cute touch! Take one of your labels and write down what you want, I just wrote "Planner" because that's what it is and couldn't come up with anything else more imaginative! But if you're using it for a notebook you could always write the subject down!
Okay, so this next step is so simple and literally takes a minute to do! Grab your pencils and washi tape and follow along!
Measure out how much tape you'll need for the length of the pencil and tape it down to cover half the pencil.
Repeat for the other side, and there you have it, a pretty pencil!
The other technique is to just wrap the tape around and around the pencil like in the photo bellow:
This is a good, easy method too, but it does tend to use more tape. Once you've applied the tape just trim off the excess from the ends and you're good to go! I would recommend not using a washi tape that has a predominately white pattern to it because the base colour of the pencil could end up showing through the tape. This is an especially good DIY if you're constantly lending out pencils to people and want to be able to tell which pens or pencils are yours!
And there you have it! Your own, customised school accessories! Obviously you can pick whatever colours or patterns you want, I just went with the blue because I thought it looked cute :)
And here's my tip on staying motivated and organised! It's actually so simple: keep a to-do list!
This might sound really obvious, but trust me, it helps SO much! Every night before I go to bed I take my list pad and write up everything I need to do the following day. It helps me unwind at the end of the day and lets me see exactly what I have in store for me the next day.
If I don't manage to do something that day then I just keep re-writing it on my to-do list until I eventually get it done! It's so helpful because always seeing the same thing on the list really motivates me to get it done and finished so I can cross it off. A great example is my dissertation, I had to write a 20,000 word piece and had hit a bit of a writer's block. So I started putting it at the top of my list every day and pretty soon I was writing anywhere from 500 to 1,000 words a day! And even if I wasn't writing it out, I was researching or editing and within a couple of months I'd finished my first draft! This also might sound really silly, but I got myself a really cute star shaped highlighter so that every time I checked something off on my list I could put a little star beside it, and this actually helped make me want to do my work!
So I really hope this little tip helps to keep you organised and motivated!


Post a Comment