Social icons

Followers

Showing posts with label arts and crafts. Show all posts

DIY: Decorative Phone Cases part. 2


This post has been moved to: http://francescavictoria.co.uk


You'll be able to find this post and lots more on this new website!

Make Your Own Erasers: Part 1


Hello Lovelies! I have a new tutorial for you: how to make your own erasers! And just in time for everyone going back to school! It's actually got to be one of the most fun DIY projects I've done so far.

What you're going to need:

Eraser putty, I got mine from Amazon
An Xacto knife or something to cut the putty
A pencil
And maybe some glue


The first shape we're going to make is the Pokéball. So take your red and white putty and a little bit of the black. The putty is going to be a bit solid to start off with so just kneed it until it becomes more pliable. 


Now turn them both into the same sized balls and then flatten one side so that you've got two domes.


Then push them together. Be gentle though, so that you don't ruin the shape. If it doesn't look perfect, don't worry.


Take the black and roll it out like so:


And flatten it. I just used my Xacto knife because that's what I had and it actually worked pretty well. Just keep the cap on the blade so you don't hurt yourself.


Once it's flattened out wrap it around the centre of the ball so that it covers where the red and white join together. Use the knife to cut off any of the excess black putty.


Next take a tiny blob of black and a slightly smaller one of the white and flatten them. Then press the black on first, then the white on top of that. If I'm not explaining this right, feel free to use the picture bellow as a reference:


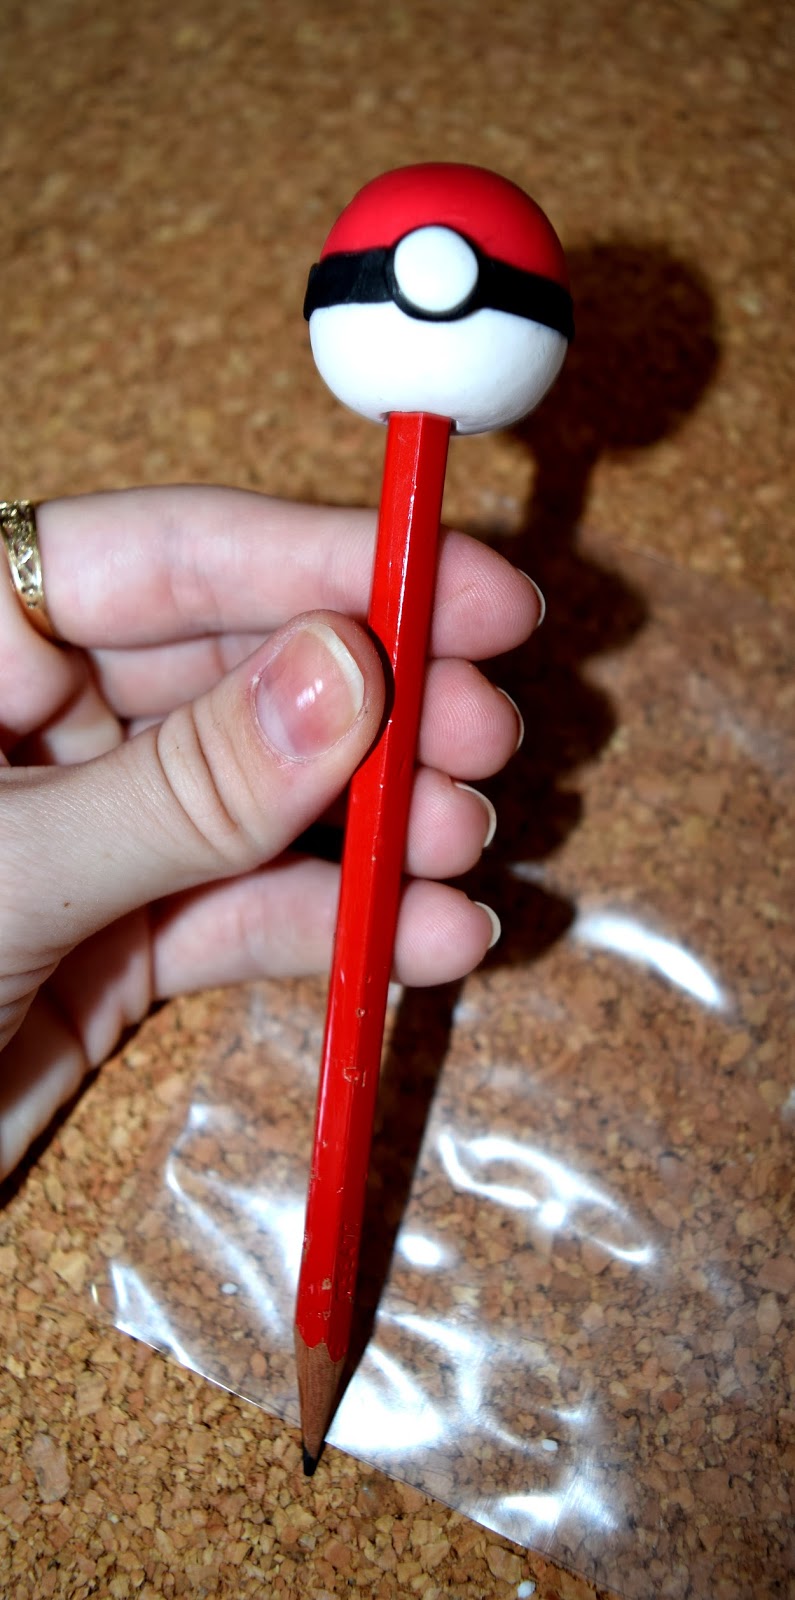
You could be finished now, but I decided to make it into an eraser for the end of my pencil. All you have to do for this is to take the pencil and gently push it into the bottom of the eraser. 


And ta-da! There you have it. Now all you have to do is follow the instructions that come with your eraser kit. Mine needed me to boil them for a few minutes, but yours might need something different. Just remember that no matter how you've got to set the putty, allow it to cool before using it or handling it.


The next Eraser I made was the Poop Emoji. I know, really mature, but it's one of my favourite so whatever. Take the brown putty and two small blobs of the black and white putty.


Roll out the brown putty into a long string. As you can see, I got a photo of the emoji up on my phone so I had something to use as a reference. 


And now start coiling it around and up.


You should end up with something like this:


Now it's time to make the eyes and mouth. Take the white putty and break it into three pieces. Make two of them equal sized ovals and the third into a circle.


To make the smiley face I used my knife and cut the circle in half to get a nice, neat semi circle.


To make the pupils just take the black putty and make two small black ovals and place them in the centre of the white ovals.


And then gently press them onto the brown putty, and there you go. Now boil or bake, depending on the instructions and there you have it! Your very own Poop Emoji.


The third eraser I made was a lollipop. Take three colours of your choice, I went with purple, blue and pink, and then take some white and a little bit of yellow and orange.


Mix together the white, yellow, and orange putty together.


And roll it into a short, fat snake shape and set it aside. This will be used as the stick for the lollipop.


Roll out the other three colours into long, thin snakes and stick them together at one end.


Then twist them around one another until it looks like this:


And roll them all together into one single strand


The next step is to twist the strand into a twirl.


Now take the stick and press it to the back of the twirl. 


Make a second lollipop face


And press it down on the other side of the stick to completely cover it up. Cook it and let it cool and there you have it, a lollipop eraser!


Here are a couple of other erasers I made:

A crying laughing emoji


And an Ice cream cone!


That's it! It's so simple and fun and customizable. You can make any shapes you want, like cake, or pizza, or different emoji faces or love hearts. You can keep them for yourself and have your own individual erasers or give them away to friends as cute, personalised gifts.

I hope you liked this tutorial, let me know what you think!


Make Your Own Hair Bows


Hello Lovelies! I'm back with another tutorial, this one is very simple and super cute: DIY hair bows! This is so much fun and an inexpensive way to make some cute hair accessories, you can make them whatever colour you like and mix and match patterns if you wanted!

What you're going to need:

Your choice of fabric, I'm just using some scrap fabric I had,
Scissors,
Glue Gun
And Crocodile hair clips


First step is to cut out a square and a rectangle from your desired fabric. I didn't measure exactly, I just kind of eyeballed it, but obviously make the sizes bigger or smaller depending on what size you want you bow to be.


Next, take the square piece of fabric and fold over the edges to create a rectangle. Make sure the edges of the fabric are overlapping.


Now take the hot glue gun and CAREFULLY glue the overlapping edges together.


Once you've done this the next step is to fold in the corners to create a single point and glue them down. It doesn't have to be perfect so don't worry about it if it's not exact!


Fold the two edges into the centre to create a small rectangle, but don't glue anything just yet!


The next thing to do rather than glueing is to turn over the rectangle and then pinch it in the middle, as demonstrated in the picture bellow:


Now it's time to adjust and play about to get the look you want and once you're satisfied add a dollop of glue to the back and let it cool. Remember the thin rectangle of fabric we cut earlier? It's time to use it. All you need to do is wrap it around the centre of the bow like so:


And then glue it so that it doesn't come undone.


The final step is to take your crocodile hair clip, add some glue to it and then press it to the back of your bow.


Make sure to press firmly.


And there you have it! You're very own bow! Isn't it cute? And it didn't even take that long to make!


I hope you've enjoyed this tutorial, let me know what you think!

DIY Decorative Phone Cases


This post has been moved to: http://francescavictoria.co.uk

You'll be able to find this post and lots more on this new website!

DIY Cupcake Candle


Hello Lovelies! So here's a new and fun tutorial for you: a very simple, do it yourself scented candle in the shape of a cupcake! Don't they look so cute? Here's what you're going to need:

A couple of microwavable containers
Wax, I used Paraffin Container Wax
A candle scent of your choice, I went with Black Cherry
Candle dye
Silicone cupcake moulds
Candle wicks
A whisk
A ziplock bag
Some scissors
Sprikles (optional)
And some wooden sticks


The first step is to cut the wax you're using into small chunks and place into one of your microwave safe containers and place it in the microwave. Turn the microwave on and set the timer about five to six minutes. Be sure to check on the wax regularly and to stir occasionally to ensure the wax is melting evenly. If your wax isn't finished melting then keep going, but check up on it ever 10-20 seconds until it's fully melted.


Whilst your wax is melting go ahead and grab your moulds. Place the wicks in the centre of them and then use the wooden sticks to hold the wicks in place. This will stop them falling over when you pour the wax into the moulds later.


When your wax is completely melted remove the container from the microwave. Do so carefully, with a glove or something to protect your hand as the container may be hot. Then go ahead and pour in a little of your chosen scent. If you're not sure how much to put in a good rule of thumb to follow is an ounce of scented oil for every pound of wax. Stir in the scent for a good couple of minutes to make sure it's evenly distributed.


Then pour about half the wax into your other microwavable container and set aside for later.


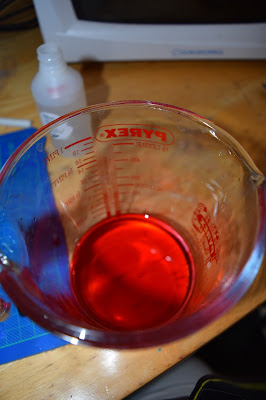
Take the remainder of your melted wax and and add the candle dye to it. Stir it in until it is completely dissolved. Now, I know that in a previous post I said that you can use crayons to colour your wax, but I'd like to add a note: crayons can clog the wick, which will mean the flame dies and the candle stops burning. If you want to make candles of a higher quality then I recommend investing in some proper candle dyes. 


Once the colour is fully dissolved the next step is to pour the wax into the moulds. Do so carefully and try not to spill anything. If you get the hot wax on yourself it will hurt. 


Be sure to leave a gap between the surface of the wax and the top of the silicone moulds as displayed in the picture below. Set these aside and let them cool. You can put them in the fridge if you want, but I find that this promotes dipping in the wax as it hardens so I prefer to just leave them out. Let them cool for a little while before moving on to the next step.


Remember the wax you set aside earlier? It's time to go grab it. By now it's probably cooled down and hardened so go ahead and pop it back in the microwave for a few seconds. Don't leave it in there for too long though, you only want it to heat up a little. Then grab your whisk and, you guessed it, start whisking the wax. You need to be a bit patient here, and be prepared to put in some elbow grease as you've got to get the wax to the point where you can make peaks in it. This will take a good few minutes.


 Once the wax is at the right consistency take your ziplock bag, cut a small hole in one of the corners and start filling the bag with the wax. I found it easiest to use a spoon to get all the wax into the bag.


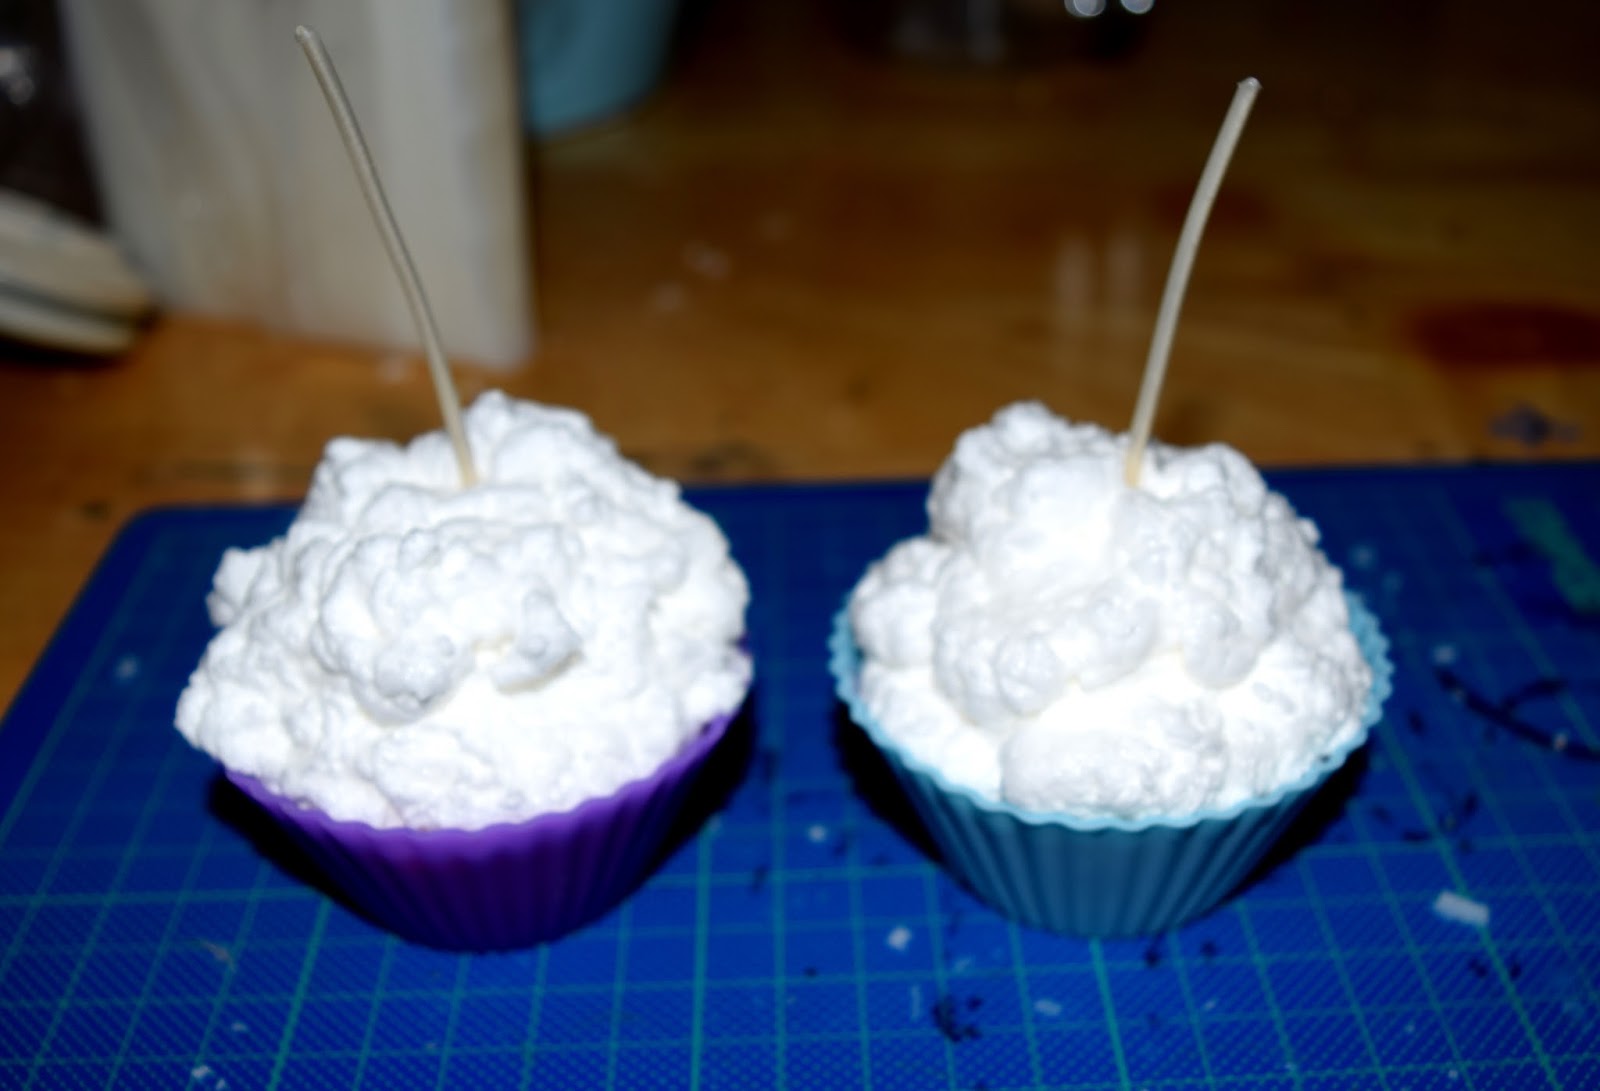
The next step is where it gets fun. First, remove the wooden sticks from the wicks and then start piping the wax out onto the cupcake candle bases. Use the mould as a guide to see where the icing should go.


You can put as much of the whisked wax on as you want, it's entirely up to you! Mine ended up looking like this:


My next step was to take the candles and, whilst the wax was still soft, gently pour some sprinkles onto them, just for an extra touch of authenticity. You don't have to do this if you don't want to, I just thought it made them look that much cuter.


Once you're finished all you have to do is wait for them to cool down completely and then carefully remove the silicone moulds and trim the wicks. And viola! You've got yourself a pair of cupcake candles! Aren't they cute?
 I do recommend that when you light these you keep them on a protective surface. I used an old lid off a tube of Pringles and that worked a treat to protect my table from any stray melted wax.


I hope you've enjoyed this DIY! Let me know what you think!
Powered by Blogger.

Connect