Social icons

Followers

Showing posts with label easy. Show all posts

DIY: Easy & Affordable Lip Scrub


Hello my Lovelies! I've got a new tutorial for you all: how to make a lip scrub! Exfoliating your lips is a simple step that people tend to either forget about or ignore in their beauty regimes, but it does have it's benefits. It only takes a couple of minutes and you only need to do it one a week, maybe slightly more frequently during the winter.

Using a good lip scrub every now and then helps to remove all those nasty dead skin cells. This leaves your lips fresh soft and smooth and this in turn helps lipsticks and glosses to adhere to your lips better, which makes them last longer! It also helps your lips to retain moisture longer, stopping cracked and chapped lips, especially helpful during the windy, cold season!

With that said, lets get on with the tutorial!

What you're going to need:

Sugar (white or brown)
Coconut Oil
A small tin for storage
Jojoba Oil
and some food colouring if you want

Okay, so first thing, take your container and fill it up to about halfway with your sugar. My container is pretty small and it ended up only being about two tea spoons worth.


Next take a heaped tea spoon of coconut oil and add it to the tin.


Add a couple of drops of the jojoba oil.


And stir everything together.


This can be all you do, but for an added bit of flare I added a few drops of food colouring to the mixture. Don't worry, I tried it out and didn't notice any staining or tinting of the lips.


Make sure you mix it all together, and that's it! A really simple, inexpensive lip scrub! These can make cute little gifts for your friends if you wanted, just decorate the tin or mix up the colour of the scrub!


I hope you found this tutorial helpful, let me know what you think!


DIY: Makeup Setting Spray


Hello Lovelies! Here's a quick post on how to make your own makeup setting spray! It's actually ridiculously easy only needs two ingredients: Glycerine and filtered water. It works because the glycerine helps bind your makeup to your skin which'll help it last longer.

What you're going to need:

Filtered water (either from a bottle or water filter)
A spray bottle
Glycerine (you should be able to find this in any pharmacy)
And for a decorative touch: Some labels


So take your spray bottle and add the glycerine. The rule of thumb here is to make fill it up a tenth of the way with glycerine, but you can adjust it depending on what you think you'll need.


Then fill it up the rest of the way with water, screw on the cap and shake until everything is nicely mixed together!


And that's literally it, you've got your very own makeup setting spray. It'll last you about two weeks, but you can always make more with whatever glycerine you have left over.
Now, to use it hold the bottle at about an arm's length away from your face and spray it lightly. Try not to hold it too close to your face or using too much because otherwise you'll just end up wetting your makeup rather than setting it.

I hope this was useful, let me know what you think!


Personalised School Supplies and Organisation / Motivation Tips


Hello Lovelies! I'm back with another blog post. This one's pretty simple and won't take too much time, but it's a great way to spice up your school supplies and make them your own!

What you're going to need:

Planner / Journal / or Notebook
Patterned Paper of your choice
Pencils
Washi Tape
Sticky Back Plastic
Scissors
PVA Glue
Paint Brush
Sticky Labels

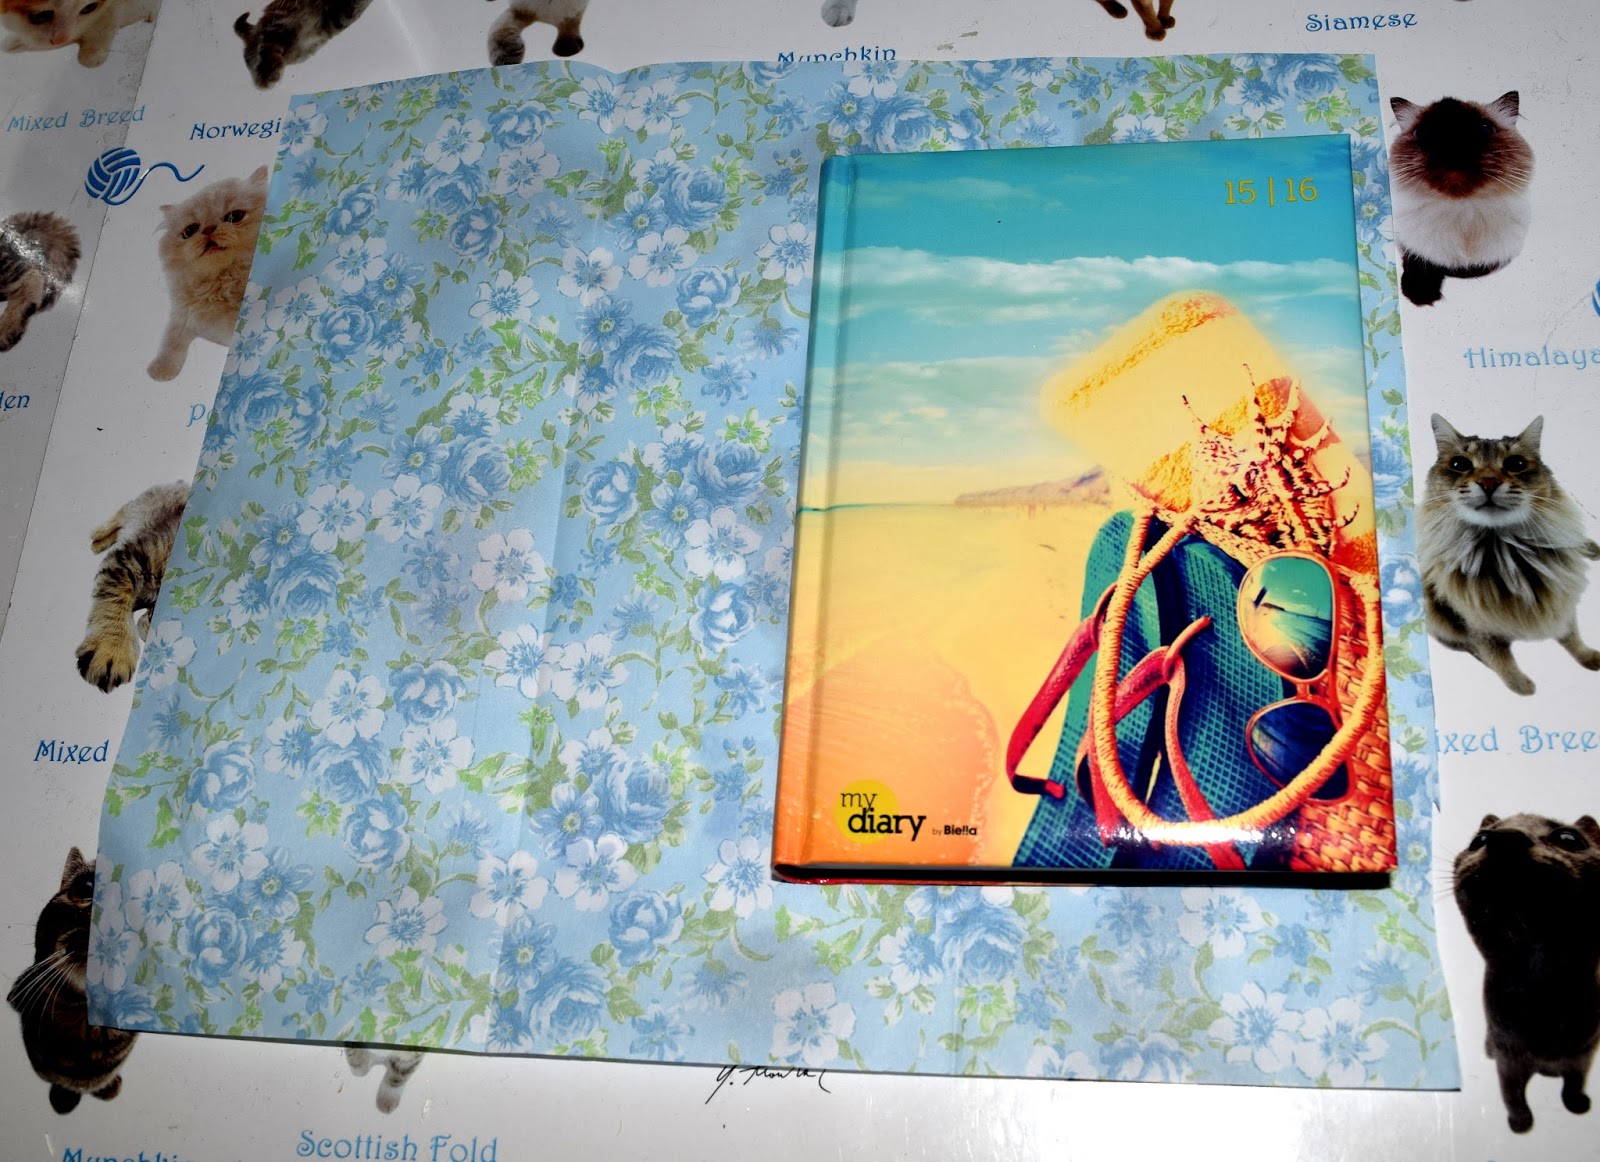
Okay, so first things first, take your planner and the patterned paper you chose and measure out the paper so that it fits the journal with about a centimetre extra's width and height.


Next thing to do is take the PVA glue and your paintbrush and starting painting the glue onto the journal and gently and slowly start pressing the paper to the journal. Do it section by section to minimize the risk of making mistakes and air bubbles.


Once everything's glued down, just cut the sharp corners off as demonstrated in the picture below:


Open up the journal and put glue along the edges of the inside of the cover.


And then fold over the extra paper like so:


For the spine what I did was simply trim down the excess paper and then put a bit of glue down the inside of the spine.


Then just fold it over and hold it down until it's dried a little bit.


Leave it all to dry for around thirty minutes to an hour just to make sure it's completely dry before moving onto the next step.


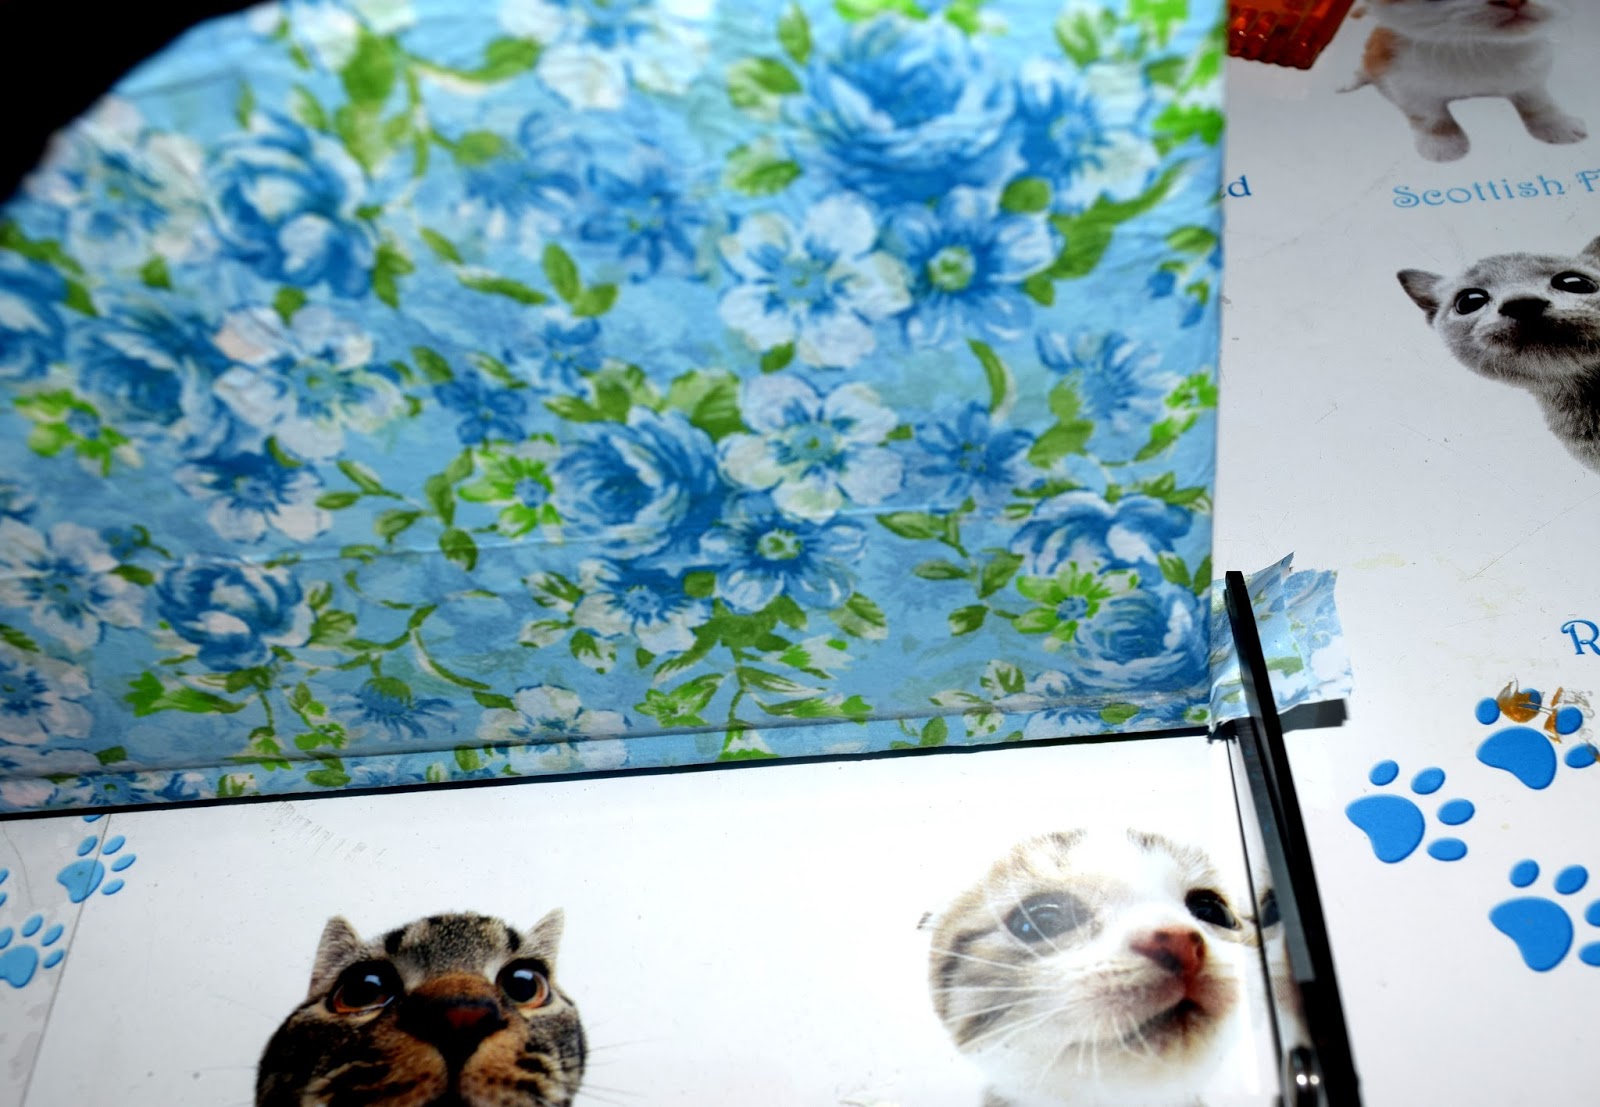
When everything is dry take the sticky back plastic and measure it out again, like we did with the patterned paper but with about 3cm extra on all sides this time.


Now peel back about half of the paper backing away from the edge and carefully place your book, spine down, in the centre of the sticky back plastic, pressing firmly to make sure there are no bubbles. Then take the sticky back plastic and press it along the side of the book, you can use a ruler or anything with a straight edge to get rid of any bubbles. 


It's now time to fold over the edges of the plastic. I folded the top and bottom down first then trimmed the remaining plastic before folding it over the edge of the book and pressing it down. Now do the same with the other side of the book and you're ready for the next step!


You can skip this step if you like, but I thought it was a cute touch! Take one of your labels and write down what you want, I just wrote "Planner" because that's what it is and couldn't come up with anything else more imaginative! But if you're using it for a notebook you could always write the subject down!


Okay, so this next step is so simple and literally takes a minute to do! Grab your pencils and washi tape and follow along!


Measure out how much tape you'll need for the length of the pencil and tape it down to cover half the pencil. 


Repeat for the other side, and there you have it, a pretty pencil!


The other technique is to just wrap the tape around and around the pencil like in the photo bellow:


This is a good, easy method too, but it does tend to use more tape. Once you've applied the tape just trim off the excess from the ends and you're good to go! I would recommend not using a washi tape that has a predominately white pattern to it because the base colour of the pencil could end up showing through the tape. This is an especially good DIY if you're constantly lending out pencils to people and want to be able to tell which pens or pencils are yours!


And there you have it! Your own, customised school accessories! Obviously you can pick whatever colours or patterns you want, I just went with the blue because I thought it looked cute :)


And here's my tip on staying motivated and organised! It's actually so simple: keep a to-do list!
This might sound really obvious, but trust me, it helps SO much! Every night before I go to bed I take my list pad and write up everything I need to do the following day. It helps me unwind at the end of the day and lets me see exactly what I have in store for me the next day.
If I don't manage to do something that day then I just keep re-writing it on my to-do list until I eventually get it done! It's so helpful because always seeing the same thing on the list really motivates me to get it done and finished so I can cross it off. A great example is my dissertation, I had to write a 20,000 word piece and had hit a bit of a writer's block. So I started putting it at the top of my list every day and pretty soon I was writing anywhere from 500 to 1,000 words a day! And even if I wasn't writing it out, I was researching or editing and within a couple of months I'd finished my first draft! This also might sound really silly, but I got myself a really cute star shaped highlighter so that every time I checked something off on my list I could put a little star beside it, and this actually helped make me want to do my work!
So I really hope this little tip helps to keep you organised and motivated!


Make Your Own Erasers: Part 2


Hello Lovelies! Here's a second tutorial about making your own erasers, but this time we'll be making them look like lipstick and lip balms! If you're anything like me and have a horrible tendency to lose or misplace your erasers, then these are a great idea for you! Seriously, with an eraser this cute you'll make sure to never lose it!

What you're going to need:

Eraser putty,
An empty lipstick container
An empty EOS Lipbalm
An Xacto Knife
And some super glue


For the lipstick you'll need a large section of the red putty and two small pieces of the pink and black to achieve the colour I made. However, if you want to make your own colour, go for it!


Now mix them all together and roll the mixture into a sausage shape.


It's time to make sure that the eraser will fit into the lipstick tube so try placing it in place and wind the lipstick down.


If there's any excess just use the knife and carefully cut it off.


What I did next to make it look even more like a lipstick was to cut the erase at an angle to create a point.


Then, once the eraser is cooled, put a tiny bit of glue into the bottom of the lipstick case and place the eraser inside.


It should end up looking something like this:


I've seen a couple of these EOS erasers, but I thought I'd try and put a little twist on it. So take three colours of your choice, or however many colours you want.


Mix them all together into a ball until you get a pattern like in the picture bellow. If you want to get a similar effect as mine, be careful not to mix the putty too much because the colours will start to blend together. 


Next, place the putty in the lid of the EOS container


Then, take the grid, which pops out of the base of the container quite easily. Just look for the thin line and pry it out using something like a thin nail file. I used my xacto knife, but that was a tad on the dangerous side so I wouldn't recommend that.


Press the grid into the putty, don't twist it though, it could ruin the pattern.


Remove the grid and the putty from the lid of the container and take the putty off the grid and boil or bake it.


Now take the super glue and glue the grid so that when you use the eraser it doesn't fall out or move about.


Then pop the grid back into the base. It's really simple to do, trust me! And there you have it, a pretty cool eraser! 


And there you have it, your own lipstick or EOS lipbalm eraser! Aren't they pretty?


I hope you've enjoyed this tutorial, let me know what you think!
Powered by Blogger.

Connect