Hello Lovelies! This is the first part of a mini series inspired by a friend of mine. She asked me for ways to spruce up her room and to really turn it into somewhere she feels at home and motivated so this is one of the projects I came up with! They're a really great way to organise your room whilst adding a personal touch to your room!
What you're going to need:
Mason Jars (a variety of sizes)
Chalk Paint
Gold Paint
Glue gun
Labels
Stick back plastic,
Washi tape / Fabric Tape
Lace
Scissors
PVA Glue
Food Dye
Chalk
So for the first jar I took one of the small mason jars and took the lid off it and used the fabric tape to cover the gold.
Then I just used my glue gun and went all around the edge of the inside of the lid before I grabbed the mason jar and sat it in the hot glue to glue them together. I do this just to give the jar a bit more decoration.
I then took the lace and glued it around the bottom of the jar, making sure that the seems line up, just to keep everything looking as clean as possible.
Now take another strip of lace and glue it around the top of the jar, just under band. That's one jar done! Isn't it cute?
Now, for the next jar I took a label and the sticky back plastic and traced around it with a pencil.
Then I folded the piece in half and made a small snip with my scissors and proceeded to cut out the inside of the shape.
You should end up with something like this:
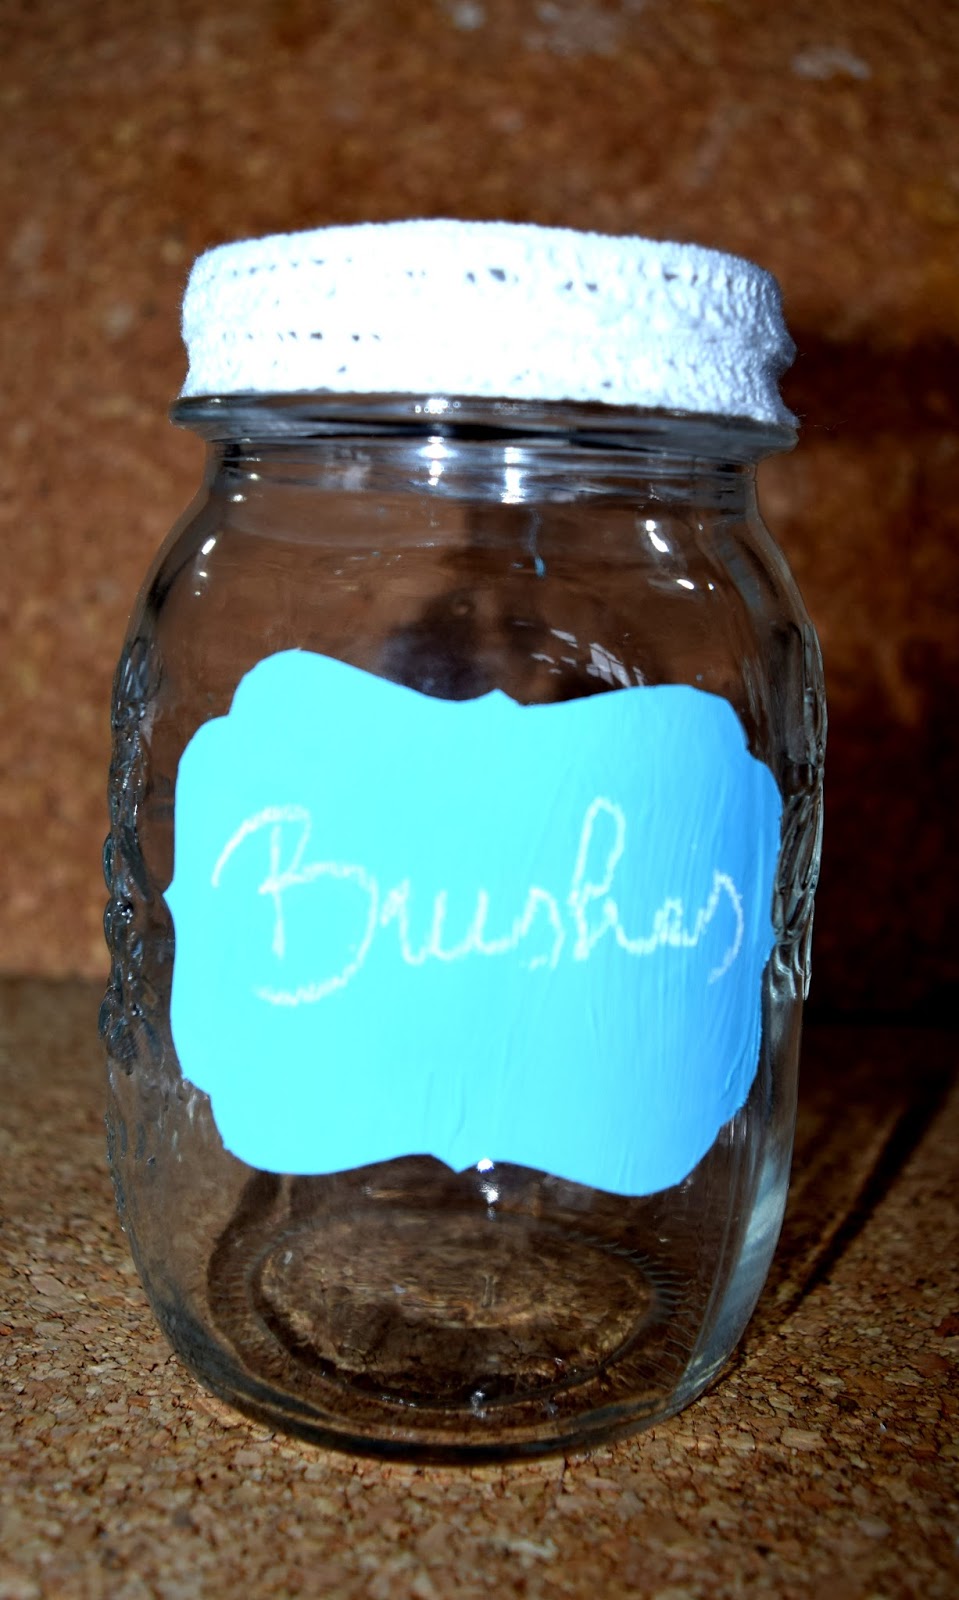
I then peeled off the back of the sticky back plastic and carefully stuck the plastic to the jar. When I had it positioned how I wanted I took the chalk paint and began to fill in the cut out.
It'll take a couple of coats before the chalk paint is completely opaque. Let it all dry completely, then take some lace and glue it around the very top of the jar. When the paint is dry go ahead and grab your chalk and write whatever you want on the jar. I just wrote "brushes" because I'll be using this jar to store some of my makeup brushes. (Very imaginative of me, I know haha!)
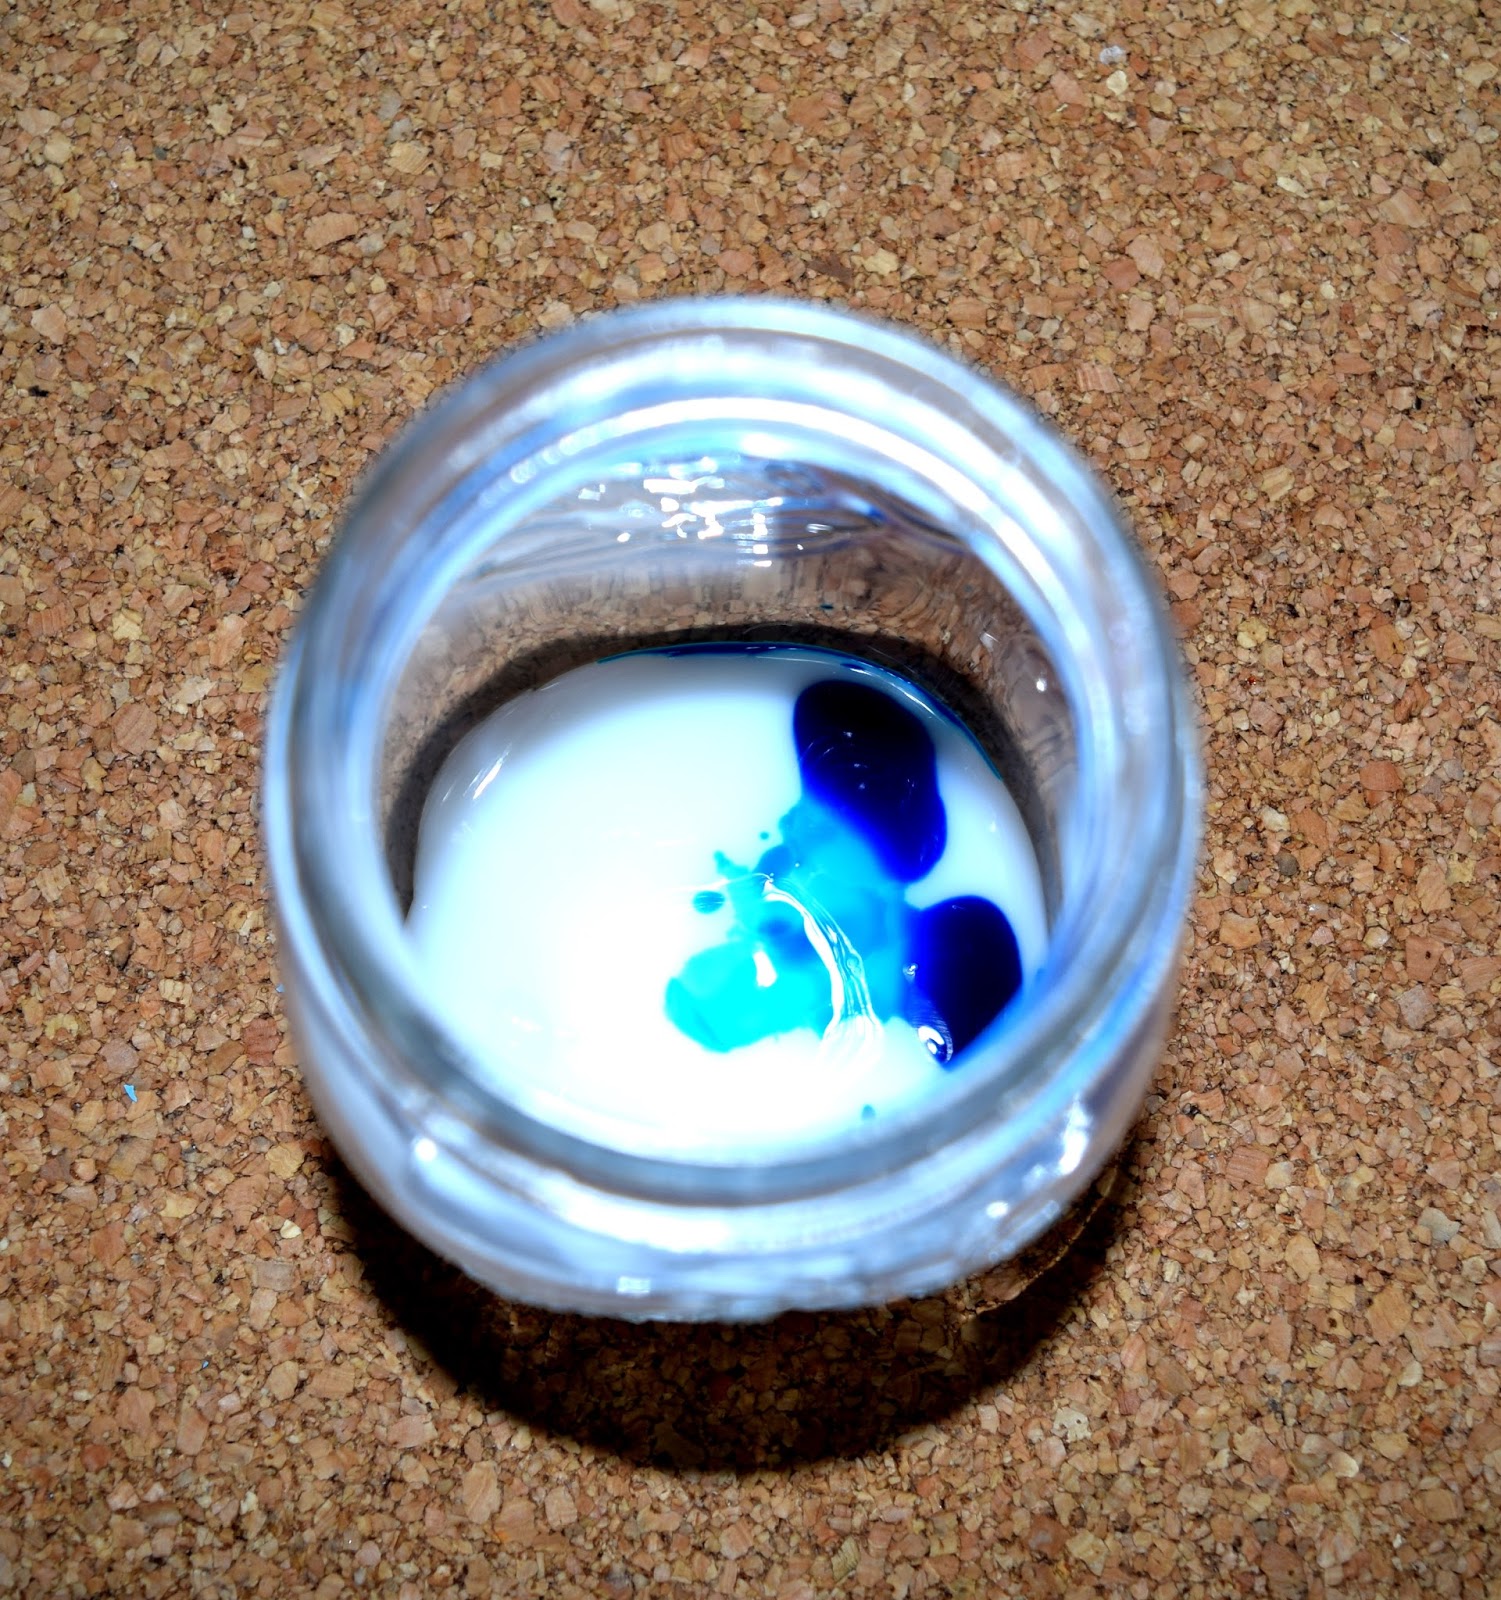
For the next jar I took some PVA glue and food colouring. Obviously I went for blue!
Okay, so fill the jar to about a fifth of the way up with PVA glue and then add a couple drops of food colouring. Adjust how much colour you put in depending on how strong you want it to be.
Mix it all together and then begin to roll the jar around until you've got the entire inside of the jar covered in the colourful glue. Now just leave it upside down on some kitchen towel and let the excess glue fall to the bottom and onto the towel. Once this is done and all the extra glue is at the bottom, throw out the kitchen towel and let your jar dry for a couple of hours.
I ended up with this really pretty blue jar:
But I felt that it was still a little bit bland so took some gold paint and painted around the top of the jar. Again, it'll take a couple of coats but it'll end up looking amazing! Plus, it matches perfectly with the Jewellery Organiser I did a tutorial on a few weeks ago (here's a link to that: DIY Jewellery Organiser)
For the second to last jar I just took some of the fabric tape I had left and wrapped it all the way around the top of the jar then added a cute ribbon I made out of the lace.
The I took the lid and painted it with a couple of coats of the chalk paint.
Once it was completely dried I used the glue gun and once again glued all the way around the inside of the lid.
It ended up looking really cute in my opinion!
So the last jar is really easy, I just grabbed a label, painted one side with chalk paint, waited for it to dry, and then painted the other side. Then I took some of the lace and used it to tie the label to the jar.
This is the finished product:
I hope you liked this blog post! Let me know what you think!





 Posts
Posts


