DIY Light Up Letters

Hello Lovelies! Sorry for the long gap between posts, it's been a bit hectic! But I'm back now, and I've got a fun tutorial for you: Light Up Letters!
What you're going to need are:
Fairy Lights
Cardboard Letters
White Paint
A different coloured paint of your choice
Glitter
PVA Glue
Scissors (Please, please be careful with these as they are sharp and you could hurt yourself)
A bin bag (to protect from the mess)

First thing's first, make sure your work space is properly covered, because this can get a tad bit messy. I just used a bin bag and spread it across my carpet.
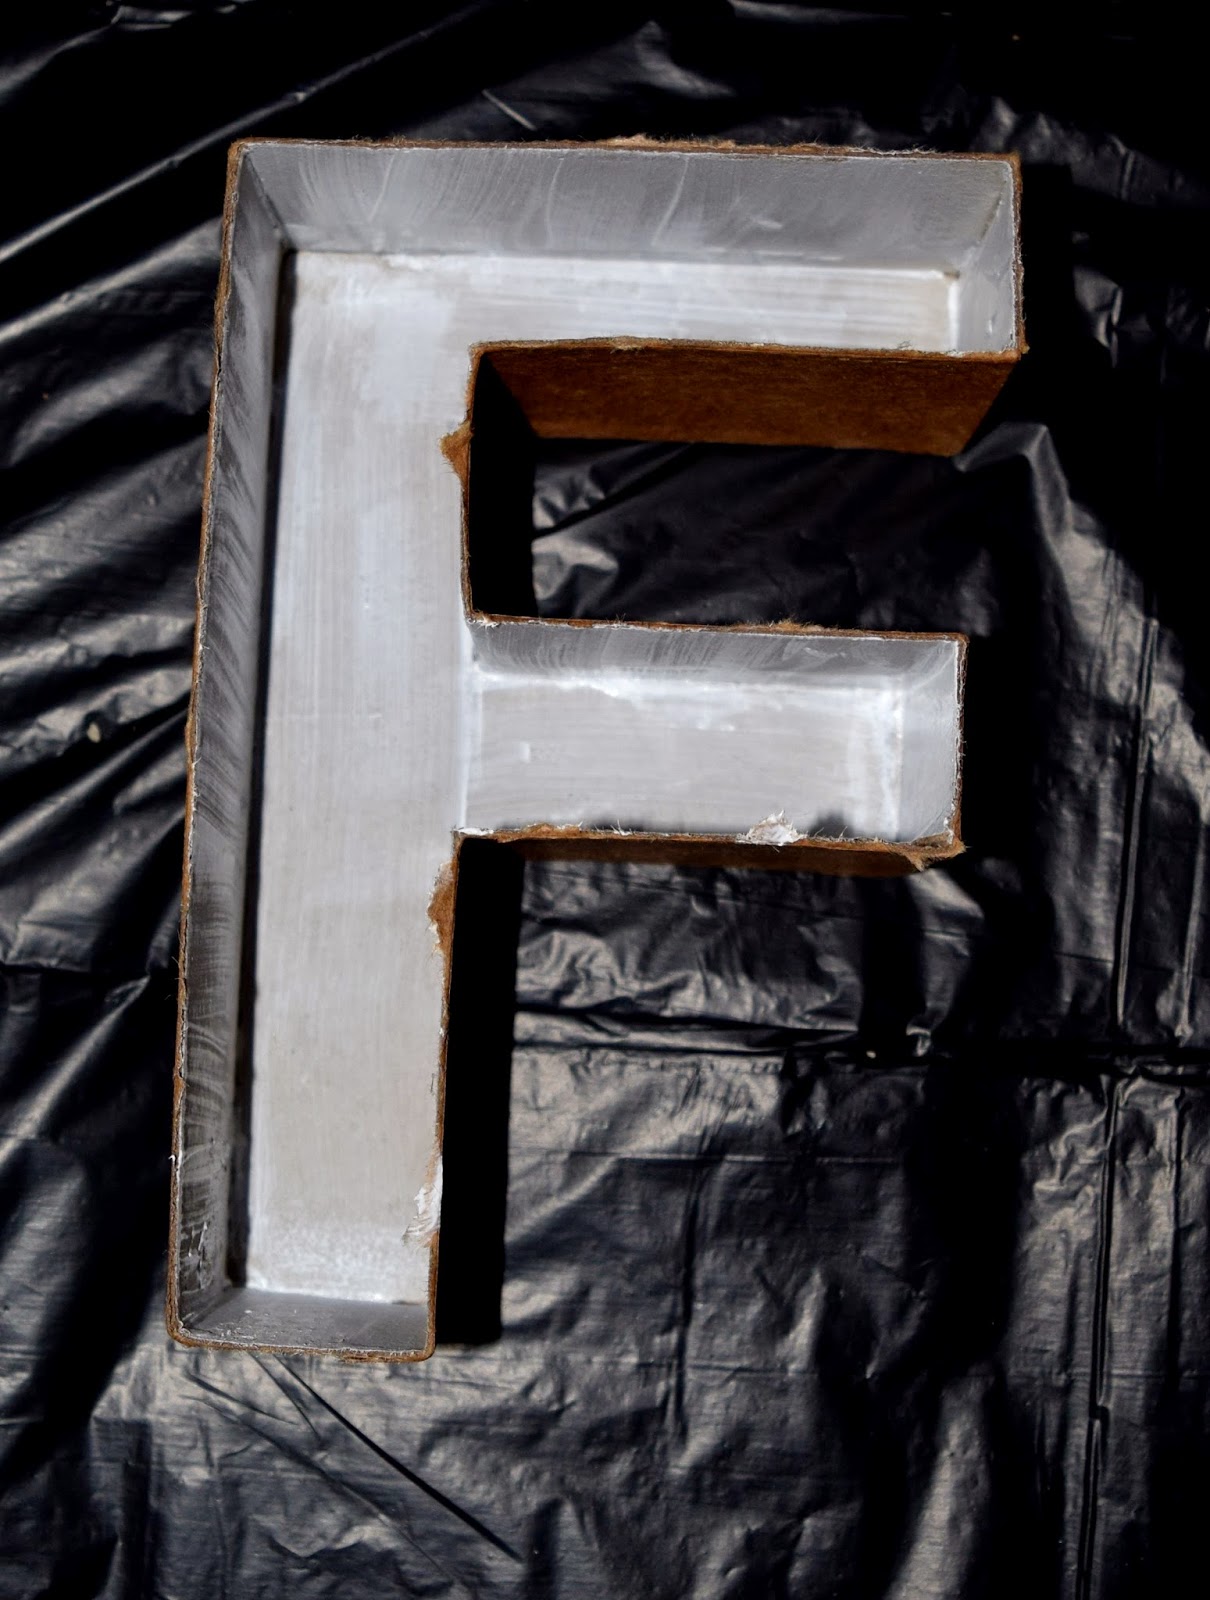
Now take your letters and peel off the front side of them, leaving the sides and the back intact. I used my scissors to cut a hole in front of the panel and then pulled it away from the rest of the letter. This is what you should end up with:

Next take your white paint and start painting the inside of the letters. It'll take a couple of layers before it's the right opacity.
Carry on painting the insides of all the letters and then just wait for them to dry.

Once dry it's safe to start painting the outsides of the letters. Use whichever colour you want, I went with this nice blue-purple colour because it matches the rest of my room. Again, it will take a couple of coats before they're ready. And be sure to let each coat dry before painting the next.


Now comes the PVA glue and glitter. What I did probably isn't the best way to do it, but it worked for me. I poured a small puddle of PVA glue onto the bin bag and then poured a small puddle of glitter next to it. I then took my letter, dipped the open side into the glue so that it coats the edges.


Then I dipped it into the glitter and just left it to dry in it. I did this because the first time I made the mistake of taking the letter out of the glitter too soon and leaving the letter to dry on it's back. The glue ran and the glitter went with it, which created a bit of a mess and ruined the look of the letter. This is a more time consuming way to do it, but it seemed to work.

When you're done it should look like this:


When the glue is perfectly dry and the glitter is properly set, it's time to start putting the fairy lights into the letters. I used some white tack to keep them in place. It's a bit fiddly, so just be careful.

Persevere and fill each letter with lights and the final step is to find a place to display your lovely letters and light them up! And viola!
Even in the daytime they still look super cute. What do you think?


Super!
Post a Comment